 PESmyClub PES myClub .com is your number 1 source for all things Pro Evolution Soccer focusing on myClub, PES

Step Up Your Design Game 🎨
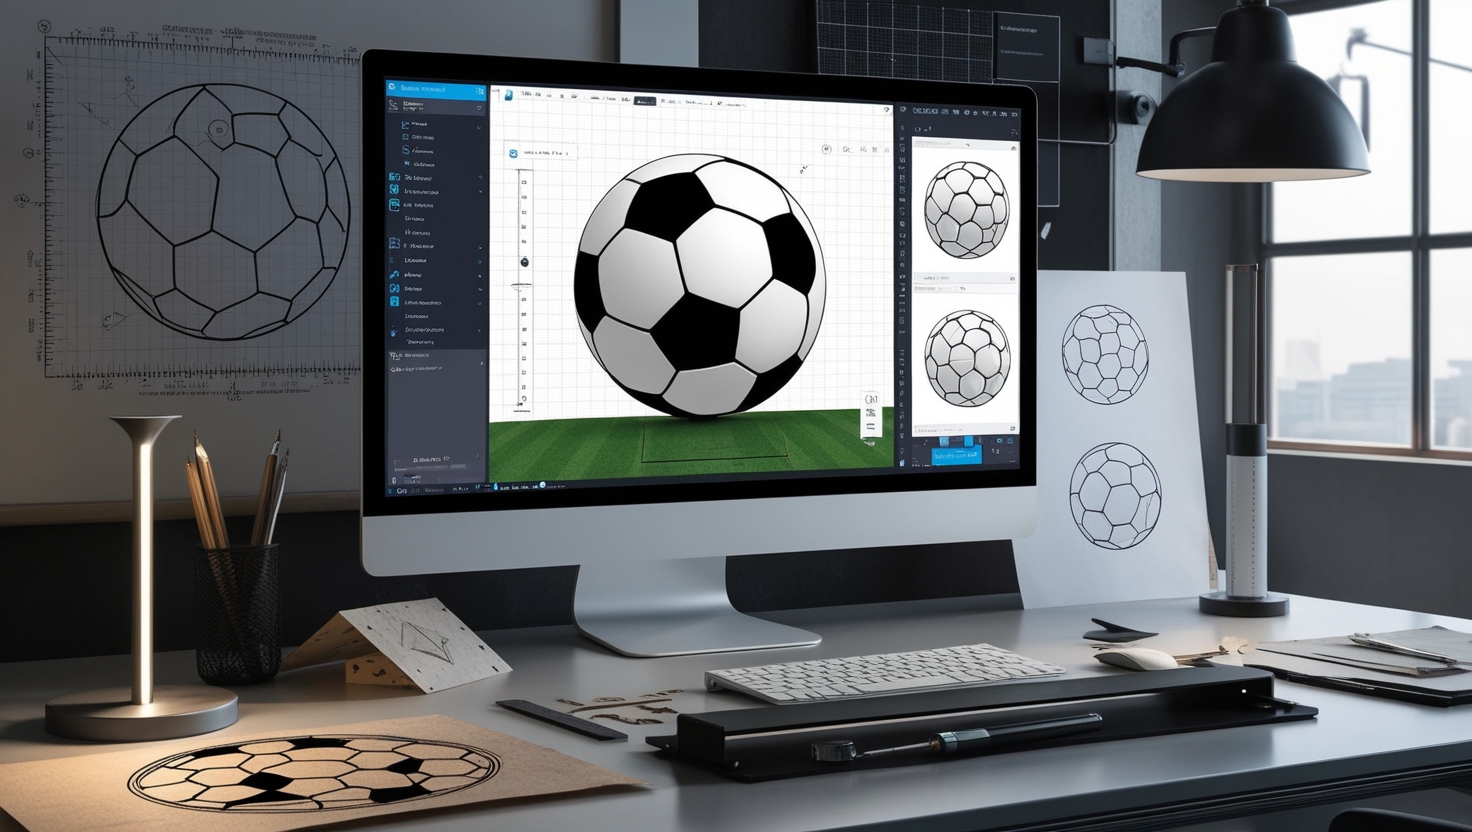
So, where do you start? You could either download a 3D model of a soccer ball or create your own design. There are a ton of tools and programs out there where you can mock it up yourself. Imagine it like piecing together a puzzle—each hexagon fits perfectly into the next pentagon, and soon enough, you’ve got the whole ball mapped out. And when you’re crafting your masterpiece, keep the scale in mind. Too big or too small and it won’t hit the same.
🔹 Find a Design
- Look for free 3D soccer ball models online.
- Customize the design to fit your engraving size.
- Save in a format compatible with your CNC software.
🔹 Set the Dimensions
- Make sure your hexagons and pentagons are proportionate.
- Adjust the design to fit your material size.
- Use a ruler tool in your software to double-check measurements.
🔹 Test the Pattern
- Run a small-scale test engraving on scrap material.
- Check for any distortion in the pattern.
- Adjust the design if necessary before the final run.
Once your design is lookin’ right, make sure it’s saved in a format that your engraving machine can read. Don’t cut corners here! It’s like passing the ball in a game—everything’s gotta connect smoothly or the whole play falls apart. Get your file prepped and double-check it’s good to go before you move to the next step.
Choose Your Weapon 🔧
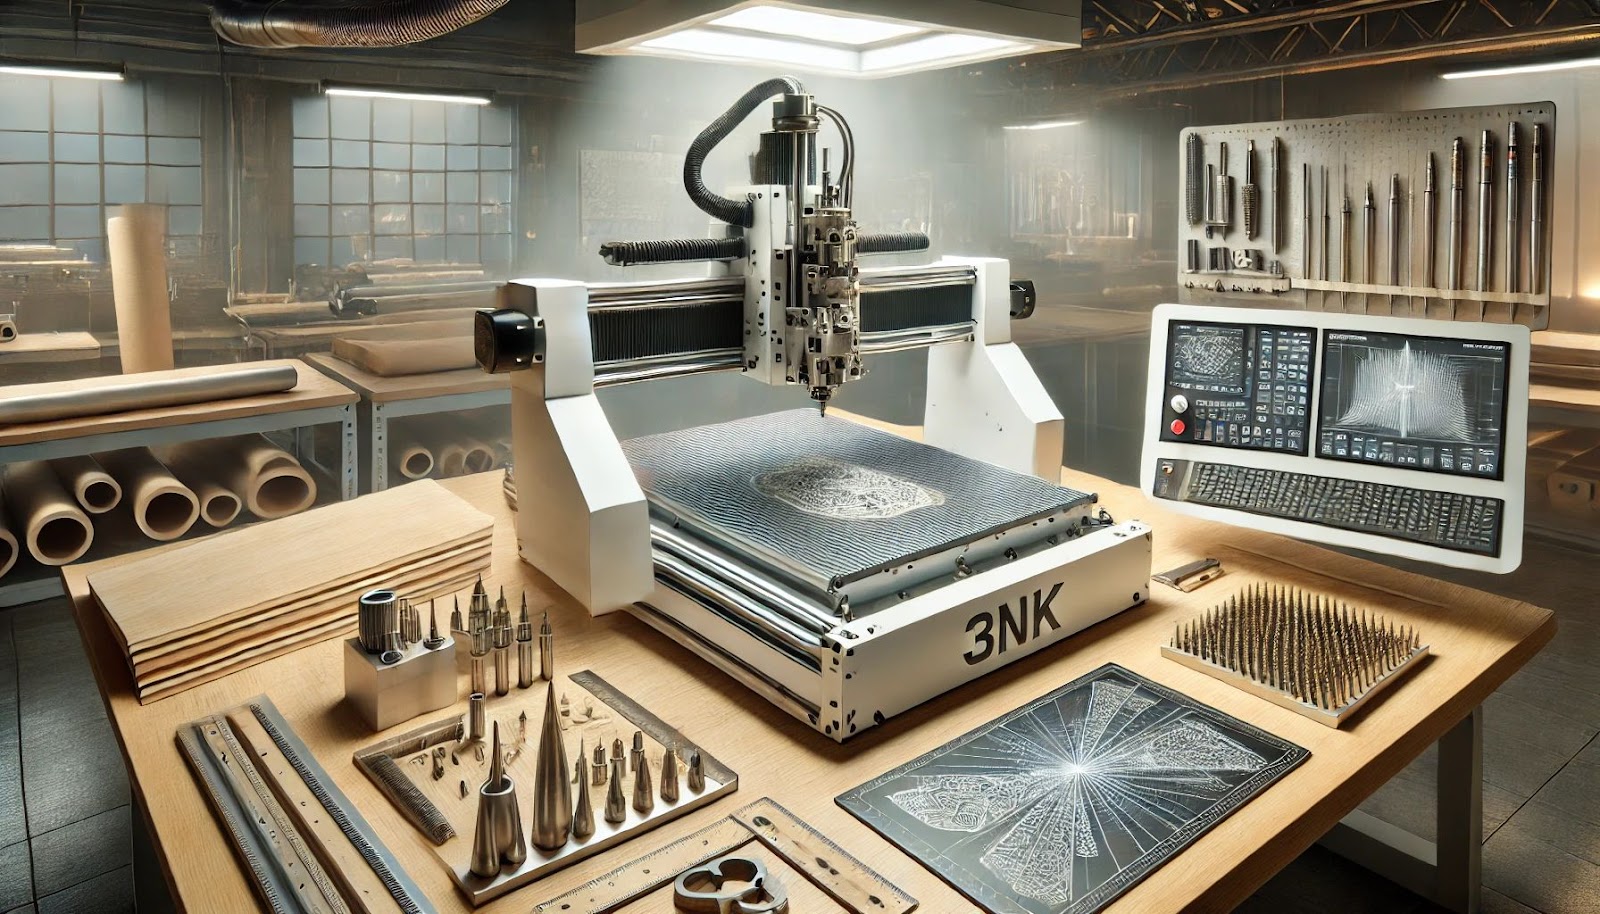
Now that your design is locked in, it’s time to pick your weapon of choice. Not just any tool is gonna do this job right. You need precision—something that’ll take those clean lines from your design and bring them to life with surgical accuracy. Enter the CNC machine. If you’re not hip to what that is yet, think of it like the Messi of engraving tools—smooth, precise, and capable of some serious magic. There’s no freestyle in this game — this machine follows your design to a T.
🔹 Select the Right CNC Machine
- Choose a machine that matches the material you’re working with.
- Check that your machine has high-detail engraving capabilities.
- Make sure it’s properly calibrated and serviced before starting.
🔹 Gather Your Materials
- Use a strong and durable material like wood, acrylic, or metal.
- Make sure the material is flat and securely placed.
- Clean the material surface for the best engraving results.
🔹 Check Your Settings
- Set your engraving depth based on the material thickness.
- Adjust the speed to balance precision and time.
- Test the bit size to ensure fine details are captured.
Check out what’s on the market and make sure your CNC machine can do the heavy lifting for you. And if you need some options, has your back with the goods. Once you’ve got your machine, it’s game time. Your design? Check. Your machine? Double check. Now, it’s time to let the fun begin.
Load It Up 🚚
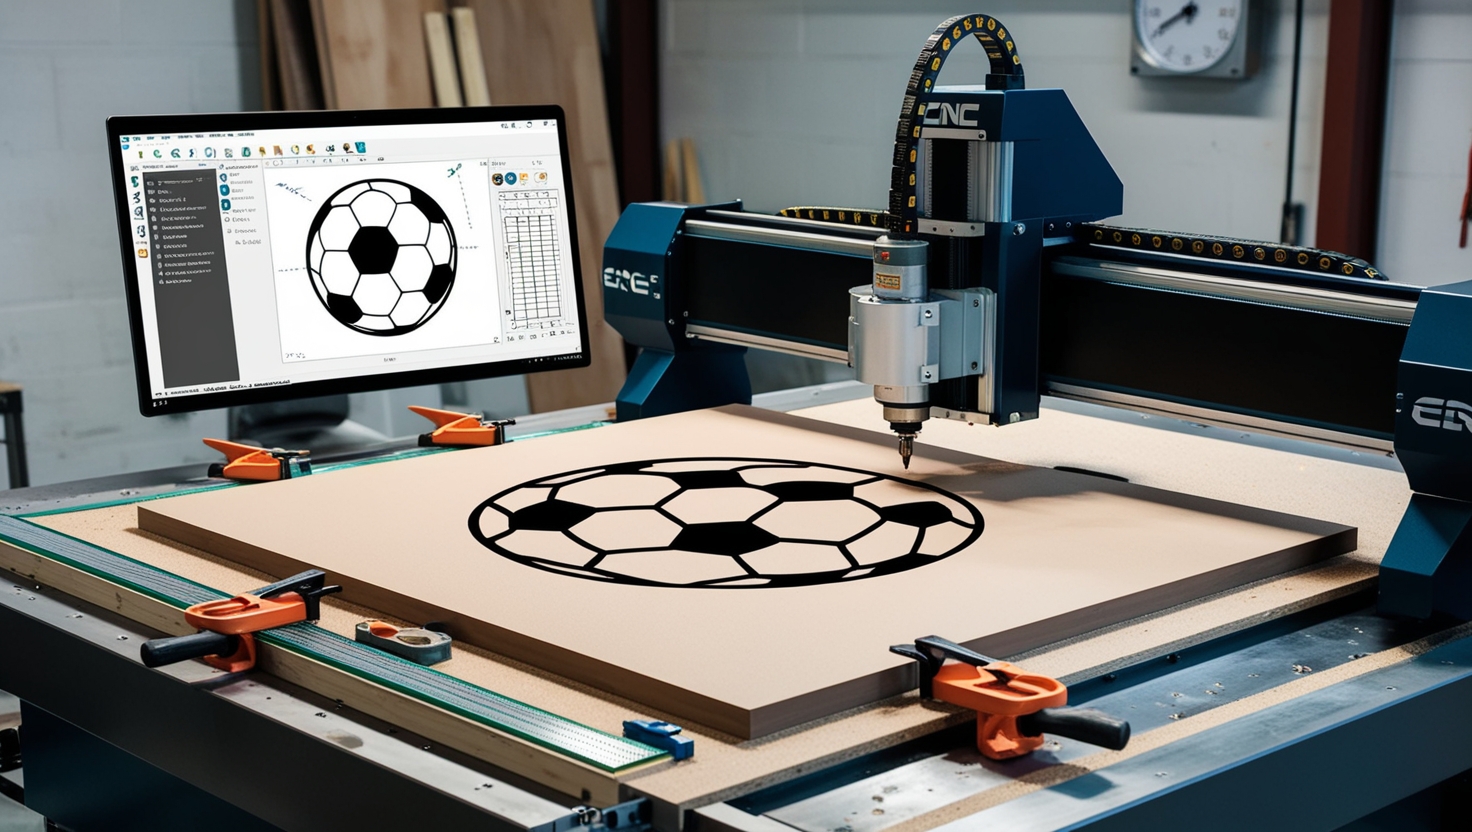
Alright, fam, we’re getting to the good part now. You’ve got your design, you’ve got your machine, so it’s time to load that baby up. Transferring your soccer ball pattern from your computer to the CNC machine is like setting up a play—you gotta make sure everything’s in the right spot. You’ll use the machine’s software to upload the design and align it exactly where you want it on your material. Sounds simple, but you wanna make sure it’s precise. Think of it like getting ready to take a penalty kick: line it up wrong, and you’re gonna miss the mark.
🔹 Prepare Your Software
- Import your design file into the CNC software.
- Align the design to the material’s surface area.
- Set the machine’s zero-point on the material.
🔹 Secure the Material
- Make sure the material is clamped tightly to the bed.
- Double-check that it’s level and won’t move during the process.
- Add a sacrificial layer if needed to protect your machine bed.
🔹 Finalize Machine Settings
- Set the correct spindle speed for your material.
- Choose the right cutting path (inside or outside).
- Preview the path in the software before starting the engraving.
When you’re loading it up, pay attention to the alignment on your material. The placement of your design on the surface matters, especially with something like a soccer ball pattern. You don’t want those hexagons and pentagons to be crooked, unless you’re trying to create some abstract art.
Hit Play and Watch the Magic Happen 🎥
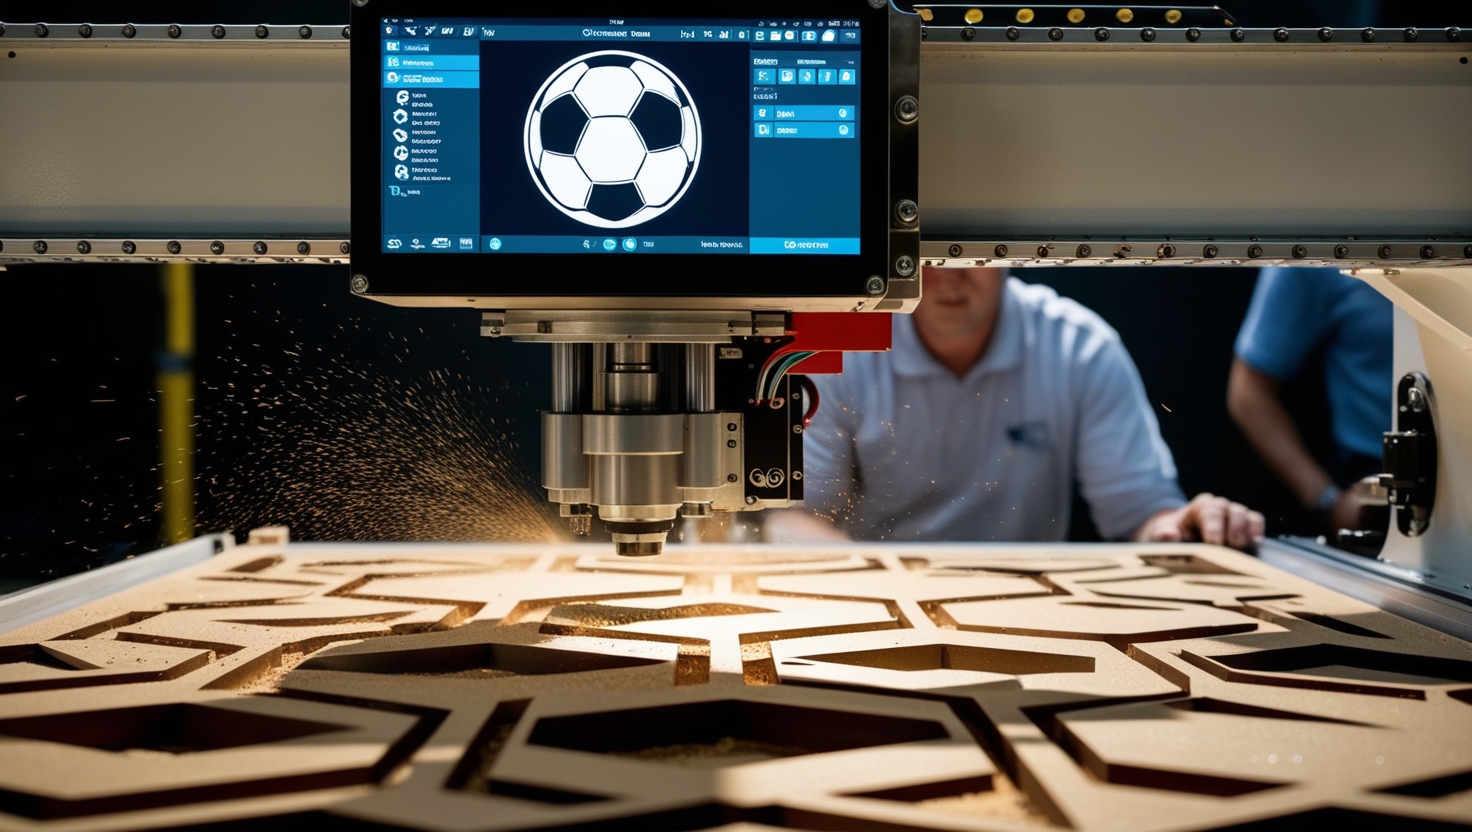
Now for the moment of truth! It’s time to hit that start button and let the machine do what it does best. This is where your design becomes real—no more sketches, no more planning. Just straight-up engraving. You’re gonna see that soccer ball pattern come to life before your eyes as the CNC machine carves out every hexagon and pentagon with perfect accuracy. Watching it work is like seeing a masterpiece being painted, only in 3D.
🔹 Start the Engraving
- Hit the “Run” button and let the CNC machine work its magic.
- Watch the first few passes to ensure everything is running smoothly.
- Pause if necessary to adjust the machine or material.
🔹 Monitor the Process
- Keep an eye on the material in case of shifting.
- Check that the engraving depth remains consistent throughout.
- Ensure there’s no excess dust or debris building up around the machine.
🔹 Troubleshoot On-the-Fly
- Stop the machine if you notice alignment issues.
- Adjust the toolpath or engraving depth if the design isn’t clear.
- Fix any errors before continuing to avoid bigger problems.
Here’s where the CNC machine really shines. It follows the design you set with pinpoint precision, moving like a ballerina on the field—smooth and graceful. Each pass over the material is a step closer to revealing the final product. And the best part? You can sit back and enjoy the show. No need to interfere, just trust the process and watch as the magic unfolds.
Touch-Up & Flex 💪
Once the machine’s done its thing, it’s time to give your masterpiece a final look. Now, it’s all about the finishing touches. Remove the material from the machine, and take a close-up view of the engraving. Is it clean? Are the lines sharp? If not, don’t panic—you can always go in for some light touch-ups.
🔹 Inspect Your Work
- Look over the entire design to spot any rough edges.
- Run your fingers over the pattern to feel for imperfections.
- Make notes on what needs touching up.
🔹 Sand or Polish
- Lightly sand rough areas to smooth out the engraving.
- Use a soft brush to clear any debris from the design.
- Polish or apply a finish to enhance the final look.
🔹 Add Finishing Touches
- Paint or stain the material to make the pattern pop.
- Seal the engraved area to protect it from wear and tear.
- Use a fine brush for detailed finishing if necessary.
Touch-ups aren’t just about fixing mistakes; they’re about making sure your work is looking 100% fire. Even the pros know that sometimes a little extra care goes a long way. Once everything’s in place and shining like a brand-new whip, you’re ready to showcase your work. Trust me, after all this effort, you’re gonna wanna show it off to everyone.
| Step | Action | Details | Tools Needed |
| Design Prep | Create or download a pattern | Ensure hexagon/pentagon layout | 3D modeling software |
| Machine Setup | Choose the right CNC machine | Calibrate for accuracy | CNC machine, materials |
| Material Alignment | Secure material on the machine bed | Clamp material tightly | Clamps, sacrificial layer |
| Engraving Process | Start engraving & monitor | Adjust settings if necessary | CNC software, preview functions |
You’ve Just Scored! ⚽
Boom! That’s how you take a simple idea and turn it into something epic. Engraving a soccer ball pattern with a CNC machine? Easy money when you know the steps. Now that you’ve got the play-by-play, it’s time to hit the field and make your own mark. What’re you waiting for? Get in the game and engrave like a champ!